
When a plastic part moves from design validation to regular production, the tooling requirements usually change with it. A prototype mold may be built to validate part geometry, material behavior, assembly, and basic molding performance. A production tool, however, has to run reliably for thousands or even millions of cycles.
That is why prototype mold vs production tooling is not simply a question of making one mold “stronger” than another. The part design, mold structure, steel selection, cooling system, cavity layout, ejection, maintenance requirements, and expected production volume can all affect the final tooling design.
For purchasing teams, this distinction matters before approving a prototype mold. A prototype that is designed with the future production tool in mind can reduce redesign work, shorten the transition to mass production, and avoid unnecessary tooling costs.
Prototype Mold vs Production Tooling: What Is the Main Difference?
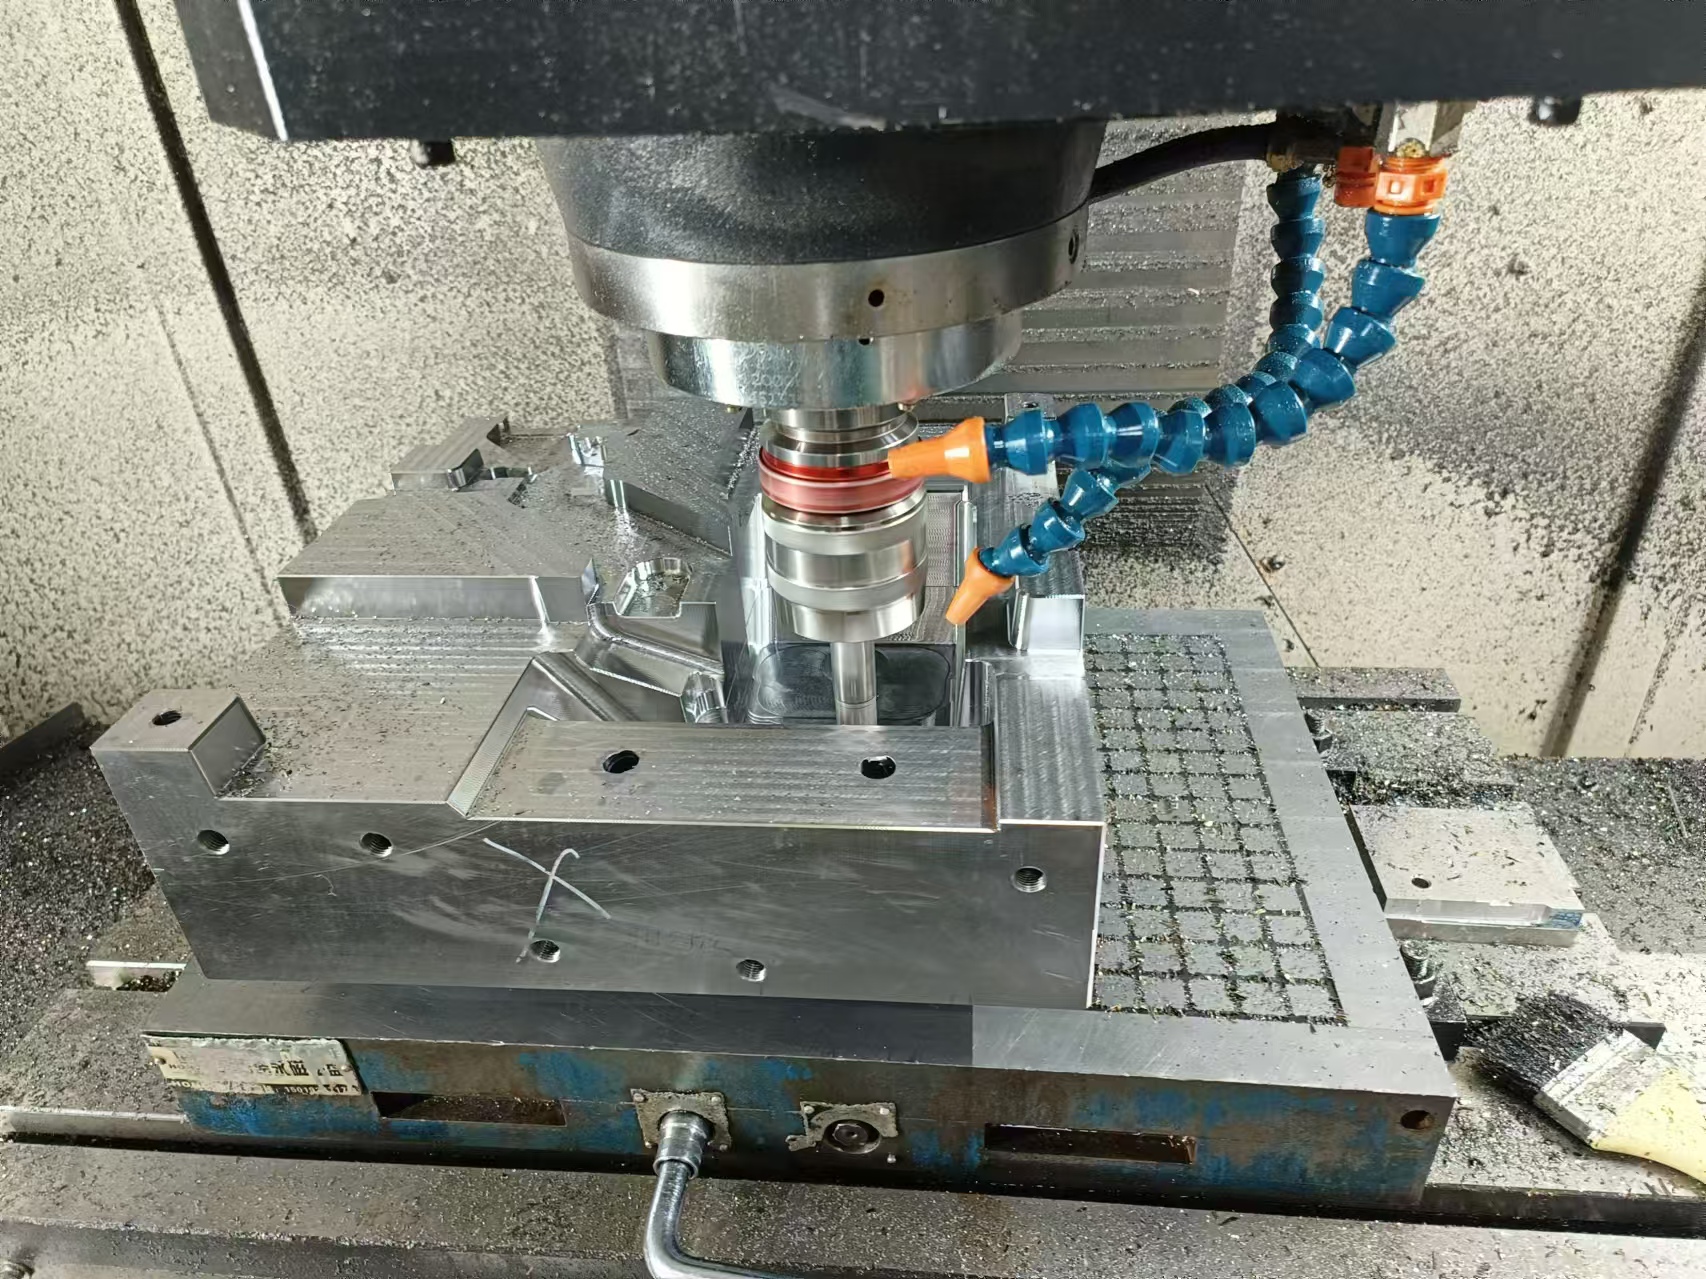
The main difference is the purpose of the tooling.
A prototype mold is normally built to answer questions such as:
- Does the plastic part fill correctly?
- Are the dimensions acceptable?
- Does the material behave as expected?
- Does the part assemble with other components?
- Are there problems with warpage, sink marks, weld lines, or short shots?
- Does the product work as intended?
Production tooling has a different priority. It needs to manufacture consistent parts at the required production volume and cycle time.
For example, a prototype mold may use a simple cavity arrangement because the customer only needs a small quantity for testing. A production tool may use multiple cavities to increase output and reduce the cost per part.
This is one reason customers should not assume that a prototype mold can always be converted directly into a production mold.
If you are still evaluating whether prototype tooling is appropriate for your project, Fentormold’s Prototype Injection Molding service provides a useful starting point for understanding the transition from prototypes to production.
1. Part Design Changes Can Affect the Production Tool
One of the biggest reasons for changing production tooling is a change to the plastic part itself.
During prototype testing, customers often discover issues that were difficult to identify from CAD data alone. A wall may need to become thicker, a rib may need reinforcement, a mounting boss may move, or a cosmetic surface may need adjustment.
Some changes are minor. Others can affect the entire mold structure.
For example, changing the location of a boss may require:
- A new core or cavity insert
- Ejector pin relocation
- Cooling circuit changes
- New slides or lifters
- Changes to the parting line
- Modification of the mold base
The earlier these changes are identified, the easier they are to manage.
This is why a good prototype mold should not be designed only for the first sample. The tooling engineer should also consider which areas of the design are likely to change before production approval.
2. Prototype Tooling May Use Replaceable Inserts
Replaceable inserts are particularly useful when the product design is still being finalized.
Suppose a customer expects to change a logo area, mounting feature, rib, or cosmetic surface after testing. Instead of machining the entire mold again, the mold maker can design a replaceable insert around that area.
This approach can make later modifications much easier.
For a production tool, the same area may eventually be redesigned for long-term durability. The final insert could use a different steel grade, a more suitable surface treatment, or a more robust structure.
However, not every prototype mold should use replaceable inserts everywhere. Additional inserts can increase machining time and tooling cost. The design should focus on areas with a realistic probability of change.
3. Steel Selection Can Change
Steel selection is another important difference between prototype mold vs production tooling.
Prototype tooling may not require the same service life as a production mold. If a customer only needs several hundred or a few thousand parts for functional testing, the tooling strategy can be different from a mold expected to run continuously for several years.
For production tooling, the steel choice is usually considered together with:
- Expected mold life
- Plastic material
- Glass-fiber content
- Production volume
- Surface finish
- Corrosion risk
- Maintenance requirements
- Required dimensional stability
A glass-filled engineering plastic, for example, can be much more abrasive than a standard unfilled material. The production mold may therefore require more durable steel or hardened wear components.
The correct choice depends on the project rather than simply choosing the most expensive steel.
4. Cooling Becomes More Important in Production
Cooling is one of the areas where the difference between prototype tooling and production tooling can become significant.
For a prototype, the customer may be primarily interested in obtaining acceptable samples. Cycle time may not be the first priority.
During mass production, however, every second matters.
If a mold takes 40 seconds to complete a cycle instead of 30 seconds, the difference can become substantial over hundreds of thousands of parts.
Production tooling therefore requires closer attention to:
- Cooling channel layout
- Distance between cooling channels and the cavity
- Temperature uniformity
- Hot spots
- Cooling around thick sections
- Cycle time
- Mold temperature control
A prototype mold can reveal that a part needs additional cooling in a particular area. That information can then be used when designing the production tool.
This is one of the practical benefits of running prototypes before committing to high-volume tooling.
5. Cavity Quantity May Increase
A prototype mold is often built with one cavity because the purpose is validation rather than maximum output.
Once the product is approved, production volume may justify a multi-cavity tool.
For example:
Prototype: 1 cavity
Production: 2, 4, 8, or more cavities
Increasing the number of cavities changes more than the cavity count. The mold designer must reconsider the runner system, gate locations, cooling layout, mold balance, ejection system, mold base size, machine requirements, and filling pressure.
A poorly balanced multi-cavity production mold can create different filling behavior from cavity to cavity. That can lead to variation in weight, dimensions, appearance, or mechanical performance.
Therefore, the prototype stage should provide useful information about filling and molding behavior before the production cavity layout is finalized.
6. Gate and Runner Design May Be Revised
Gate location is another area that can change after prototype testing.
A prototype mold may use a relatively simple gate arrangement to get parts molded quickly. During testing, the team may discover:
- Visible gate marks
- Weld lines in a critical area
- Uneven filling
- Excessive injection pressure
- Warpage
- Difficult gate removal
- Cosmetic problems
The production mold can then be redesigned around those findings.
The gate does not only affect appearance. It can influence filling balance, packing, shrinkage, warpage, cycle time, and part quality.
For high-volume production, the runner system may also be optimized to reduce material waste and improve cavity balance.
7. Ejection Design May Need to Change
Ejection is sometimes underestimated during the prototype stage.
A prototype part may eject successfully, but production can expose problems that were not obvious with a small number of samples.
For example, the part may stick to the core after repeated cycles because of:
- Insufficient draft
- Deep ribs
- Excessive shrinkage
- Poor ejector pin locations
- Uneven ejection force
- Mold surface issues
The production mold may require additional ejector pins, sleeves, lifters, or other mechanisms.
This is especially important for parts with deep ribs, bosses, undercuts, or thin walls.
When reviewing a prototype mold, it is worth asking whether the ejection concept is suitable for the final production tool or simply adequate for prototype quantities.
8. Slides, Lifters, and Undercuts May Be Reconsidered
Product changes can also affect side actions.
A prototype mold may use a simple mechanism to produce an undercut. After the product is finalized, the production mold may require a more durable slide or lifter arrangement because the mechanism will operate repeatedly over a much longer service life.
The production tool may also need better wear protection and easier maintenance access.
This is particularly relevant for automotive, appliance, electronic, and industrial plastic components where the mold may run continuously.
If the product design changes significantly, it is often better to review the entire mold mechanism rather than modifying one small area without considering how it interacts with the rest of the tool.
9. Mold Base and Standard Components Can Change
The mold base used for a prototype may not be the best choice for production.
Production tooling may require a larger mold base because of:
- More cavities
- Larger cooling circuits
- Additional slides
- More ejector components
- Hot runner systems
- Increased cavity spacing
- Larger production machine requirements
Standard mold components also become important when long-term maintenance is considered.
Using readily available standard components can make future replacement easier and reduce downtime.
For projects where mold components need to meet specific standards or tolerances, Fentormold’s Components Manufacturing service is relevant to the tooling process.
10. Production Volume Changes the Tooling Decision
The expected production quantity should be discussed before the prototype mold is designed.
A customer producing 2,000 parts per year does not necessarily need the same tooling strategy as a customer producing 500,000 parts per year.
Production volume affects decisions such as:
- Number of cavities
- Steel grade
- Mold life
- Automation
- Hot runner versus cold runner
- Cooling system
- Ejection system
- Maintenance requirements
- Spare components
For this reason, a tooling quotation should not be based only on the 3D model.
The mold supplier should understand the expected annual volume, part material, target cycle time, machine availability, and expected tool life.
Fentormold’s Injection Mold Manufacturing service covers the tooling side of this process, from mold design through manufacturing.
Prototype Tooling Does Not Always Become the Production Mold
One common misunderstanding is that every prototype mold should eventually become the production tool.
That is not always practical.
A prototype mold may have been designed around:
- One cavity
- Short-term production
- Fast modifications
- Limited tooling life
- Simple cooling
- A temporary gate location
- Early-stage product geometry
Once the product is approved, the production tool may need a completely different structure.
In some cases, however, a prototype mold can be designed with enough flexibility that certain components or inserts can be reused in the production tooling.
The right decision depends on the part, volume, mold structure, and expected design changes.
How to Reduce Production Tooling Changes
The best way to reduce expensive tooling changes is to identify potential problems before production mold construction starts.
A practical workflow is:
Product design → DFM review → Prototype tooling → Sample testing → Design changes → Final DFM review → Production tooling
The prototype stage should not be treated as an isolated step. It should generate information that improves the final production tool.
Before approving production tooling, the purchasing and engineering teams should review:
- Has the product geometry been finalized?
- Is the plastic material confirmed?
- Are critical dimensions identified?
- Is the gate location approved?
- Are draft angles sufficient?
- Are ribs and bosses suitable for molding?
- Has the cooling concept been reviewed?
- Is the expected production volume confirmed?
- Is the target cycle time realistic?
- Which prototype areas are still likely to change?
Answering these questions early can prevent costly changes after steel has already been machined.
What Should Buyers Ask the Mold Supplier?
When moving from prototype mold to production tooling, purchasing teams should not only ask for a tooling price.
A better quotation discussion should cover:
Tool life: How many cycles is the production mold designed for?
Steel: What steel is proposed for the cavity, core, and wear components?
Cavities: Is the proposed cavity count appropriate for the annual production volume?
Cycle time: What cycle time is expected?
Modification: Which prototype changes could affect the production mold price?
Cooling: Has the cooling system been designed around the expected production cycle?
Maintenance: Which components are expected to wear and how easily can they be replaced?
Lead time: How much time is required from final design approval to T1 samples?
These questions give the buyer a much clearer picture of the real tooling cost.
For companies evaluating the complete production process, Fentormold also provides Injection Molding Production, allowing tooling and part production requirements to be considered together.
Prototype Mold vs Production Tooling: A Practical Comparison
| Item | Prototype Mold | Production Tooling |
|---|---|---|
| Main purpose | Design and product validation | Long-term production |
| Typical volume | Low | Medium to high |
| Cavity count | Often 1 | Based on production demand |
| Mold life | Usually shorter | Designed for long-term use |
| Cooling | Basic or project-specific | Optimized for cycle time |
| Design changes | More likely | Should be minimized |
| Steel selection | Based on prototype needs | Based on production life |
| Maintenance | Less critical | Important |
| Cycle time | Secondary consideration | Major consideration |
| Cost per part | Less important | Important |
| Automation | Limited | May be required |
| Mold balance | Basic for single cavity | Critical for multi-cavity tools |
Final Takeaway
The key point in prototype mold vs production tooling is that the two tools serve different purposes.
A prototype mold is primarily a learning tool. It helps confirm whether the part can be molded and whether the design works in practice. Production tooling must take that information one step further and deliver stable parts at the required volume, cycle time, quality level, and mold life.
That is why design changes made during prototype testing can have a direct effect on production tooling cost and lead time.
The most efficient approach is not necessarily to make the cheapest prototype mold. It is to design the prototype stage so that it answers the questions that matter before production tooling is committed.
If you already have a prototype part or mold design and are preparing for mass production, Fentormold can review the tooling requirements, potential design changes, and production considerations before the production mold is built. You can contact Fentormold with your 3D files, 2D drawings, material information, and expected production volume for a tooling evaluation.