
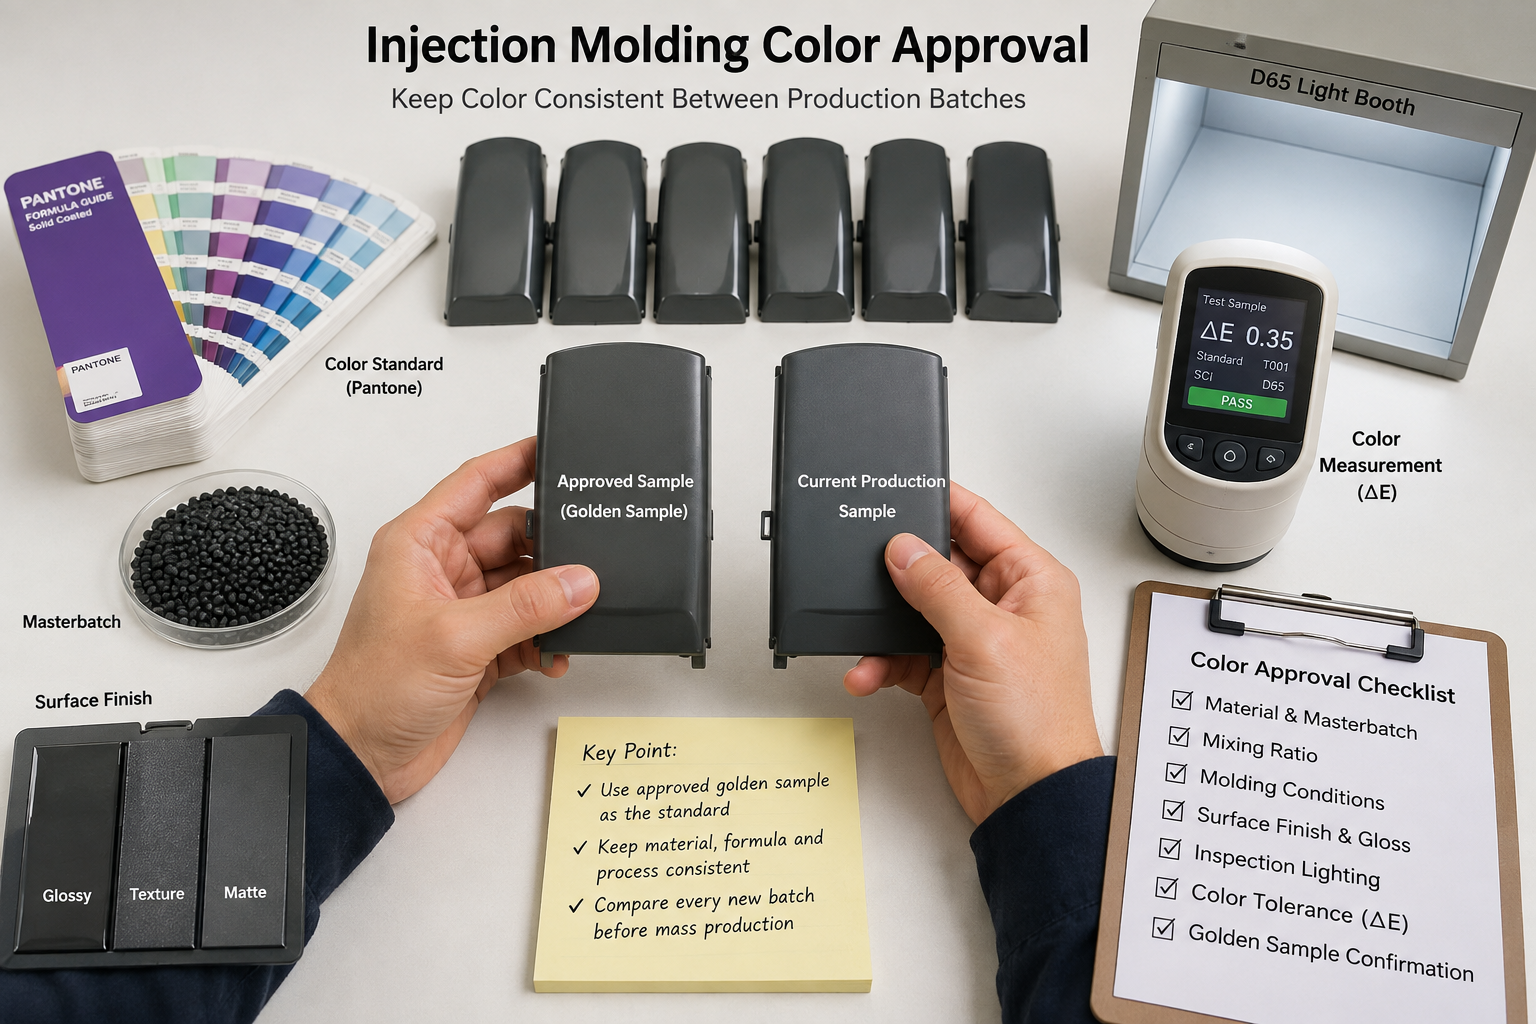
Injection molding color approval is not only about matching one sample. Buyers also need to keep the color stable from one production batch to the next. A part may look correct during the first trial but show a clear color shift in later production.
Color changes can come from the resin, masterbatch, machine settings, surface texture, gloss level, or even the lighting used during inspection.
For this reason, buyers should set a clear color standard before mass production starts.
Why Injection Molding Color Approval Matters
Plastic color is easy to judge by eye, but visual judgment alone can create problems.
Two parts may look the same under factory lighting but look different under daylight.
Also, a glossy part can appear darker than a textured part even when both use the same color material.
Therefore, color approval should include more than a simple visual check.
Buyers should control:
- Color standard
- Material grade
- Masterbatch supplier
- Masterbatch ratio
- Surface finish
- Gloss level
- Molding conditions
- Inspection lighting
- Color difference limits
- Approved reference samples
A clear standard makes later production much easier to control.
At Fentor Mold, we prefer to confirm the color standard before final production approval.
Start Injection Molding Color Approval With a Clear Standard
The first step is to define the target color.
This can come from:
- A Pantone number
- A RAL number
- A customer color chip
- An approved plastic part
- A painted metal sample
- A digital color value
However, a color number alone may not always be enough.
The same Pantone color can look different on different materials.
For example, ABS, PC, PP, and PA may show different color depth and gloss.
Therefore, it is better to approve a real molded sample whenever possible.
That sample should become the main production reference.
Use a Golden Sample for Color Approval
A golden sample is one of the most useful tools for color control.
Once the buyer approves the final color, keep several approved samples.
These samples should come from stable molding conditions.
Do not use an early trial sample if the final material or surface finish later changes.
The approved sample should represent:
- Final resin grade
- Final masterbatch
- Final surface texture
- Final gloss level
- Final molding conditions
It is also better to keep more than one golden sample.
For example, one sample can stay with the buyer. Another can stay with the supplier. A third can be kept as a backup.
This helps avoid disputes later.
Injection Molding Color Approval Should Control Material Batches
Material changes can affect color.
Even when the resin name stays the same, different resin batches may show small shade differences.
Masterbatch can also vary from lot to lot.
Therefore, buyers should record:
- Resin supplier
- Resin grade
- Resin lot
- Masterbatch supplier
- Masterbatch code
- Masterbatch lot
- Mixing ratio
This information becomes very useful if color changes appear later.
For long-term Injection Molding Production, keeping these records makes batch comparison much easier.
Keep the Masterbatch Ratio Stable
A small change in masterbatch ratio can create a visible color difference.
For example, if the approved ratio is 2%, the production team should not casually change it to 1.8% or 2.2%.
The mixing method should also stay stable.
Manual mixing may create more variation than controlled dosing.
This is especially important for:
- Light colors
- Gray colors
- White parts
- Transparent colors
- Metallic colors
- Low masterbatch ratios
Therefore, the approved ratio should become part of the production setup sheet.
Molding Conditions Can Change Color
Color does not depend only on the material.
Molding settings can also change the final appearance.
Important settings include:
- Melt temperature
- Mold temperature
- Injection speed
- Holding pressure
- Back pressure
- Screw speed
- Residence time
For example, high melt temperature may darken some materials.
Long residence time can also cause color change.
In addition, too much shear can affect the appearance of some pigments.
For this reason, the supplier should not approve color with one process and then use a very different process during mass production.
The molding window should stay close to the approved trial conditions.
Surface Texture Changes How Color Looks
This point is often overlooked.
A polished surface reflects more light.
A textured surface reflects light in a different way.
As a result, the same resin color can look lighter or darker after texture changes.
Gloss level can create the same effect.
Therefore, injection molding color approval should be done on the final surface whenever possible.
Do not approve a smooth T1 sample and assume the color will look the same after texture.
This becomes more important for housings, automotive trim, consumer products, and visible plastic parts.
Use the Same Lighting for Color Inspection
Lighting can completely change how a plastic color appears.
A part may look correct under warm indoor light but too blue under daylight.
Therefore, both buyer and supplier should agree on the inspection light.
Common options include:
- Daylight
- D65 light
- TL84 light
- Standard light booth
- Customer-defined lighting
The background also matters.
A white table and a dark table can change visual judgment.
For better control, compare parts under the same lighting, angle, and background.
Injection Molding Color Approval With Color Measurement
For critical color parts, visual inspection alone may not be enough.
A color meter or spectrophotometer can give a more objective result.
The most common value is Delta E, often written as ΔE.
It shows the color difference between the approved standard and the production sample.
The lower the Delta E value, the closer the colors are.
However, the acceptable limit should depend on the product.
A hidden internal part may allow more color variation.
A visible consumer housing may need tighter control.
Therefore, buyers should agree on the color limit before production.
Compare Every New Batch With the Approved Sample
Before starting a new production batch, compare the first molded parts with the approved sample.
Do not wait until the full batch is complete.
The early check should compare:
- Color
- Gloss
- Texture
- Flow marks
- Weld lines
- Burn marks
- Surface shade
If the color is outside the agreed range, stop and check the cause.
Possible causes include:
- Wrong masterbatch
- Wrong mixing ratio
- Material batch change
- High melt temperature
- Long residence time
- Contamination
- Different surface condition
Finding the cause early can prevent a full batch of rejected parts.
Avoid Using Only One Sample for Batch Approval
One part may look correct by chance.
Therefore, check several parts from the new batch.
This is especially important for multi-cavity molds.
If the mold has four cavities, compare parts from all four cavities.
Color can sometimes look slightly different because of filling speed, venting, or local surface condition.
So, the supplier should not approve the whole batch based on one cavity only.
Control Regrind Material Carefully
Regrind can create color variation.
The effect depends on the material, color, and regrind ratio.
For appearance parts, buyers should clearly define whether regrind is allowed.
If it is allowed, the ratio should stay stable.
For example:
- 0% regrind
- Maximum 5%
- Maximum 10%
- Only clean same-color regrind
Do not change the regrind ratio between batches without approval.
Otherwise, the color may slowly shift over time.
Keep Production Records for Color-Controlled Parts
Good records make later color problems easier to solve.
For each batch, record:
- Production date
- Resin lot
- Masterbatch lot
- Mixing ratio
- Machine number
- Mold number
- Main molding settings
- Approved first-piece result
Photos can also help.
However, photos should not replace physical samples or color measurement.
Camera settings, screens, and lighting can change the appearance.
At Fentor Mold, we prefer to keep color control linked to the actual production condition, not only to photographs.
What Buyers Should Approve Before Mass Production
Before final production approval, buyers should confirm:
- Final material
- Final masterbatch
- Final ratio
- Final surface texture
- Final gloss
- Approved sample
- Inspection lighting
- Color tolerance
- Regrind rule
- Batch control method
These items should not remain unclear.
If the mold itself is still under development, the color sample should also come from a stable mold condition.
Our Injection Mold service includes mold trials and sample checking before final tooling approval.
Injection Molding Color Approval Checklist
| Check Item | What to Confirm |
|---|---|
| Color standard | Pantone, RAL, chip, or approved part |
| Golden sample | Final molded sample approved |
| Resin | Supplier, grade, and lot recorded |
| Masterbatch | Supplier, code, and lot recorded |
| Mixing ratio | Fixed and documented |
| Surface finish | Final texture and gloss confirmed |
| Molding settings | Stable and close to approved trial |
| Lighting | Same inspection light used |
| Color tolerance | Visual or Delta E limit agreed |
| Multi-cavity mold | All cavities checked |
| Regrind | Ratio clearly defined |
| New batch approval | First pieces compared before full run |
Final Thoughts
Injection molding color approval should create a clear standard for future production.
The goal is not only to make one good-looking sample.
Buyers should also control material, masterbatch, mixing ratio, surface finish, molding conditions, and inspection lighting.
Most importantly, keep an approved golden sample.
Then compare each new batch against the same standard.
At Fentor Mold, this approach helps reduce color disputes and keeps visible plastic parts more consistent from one production batch to the next.