
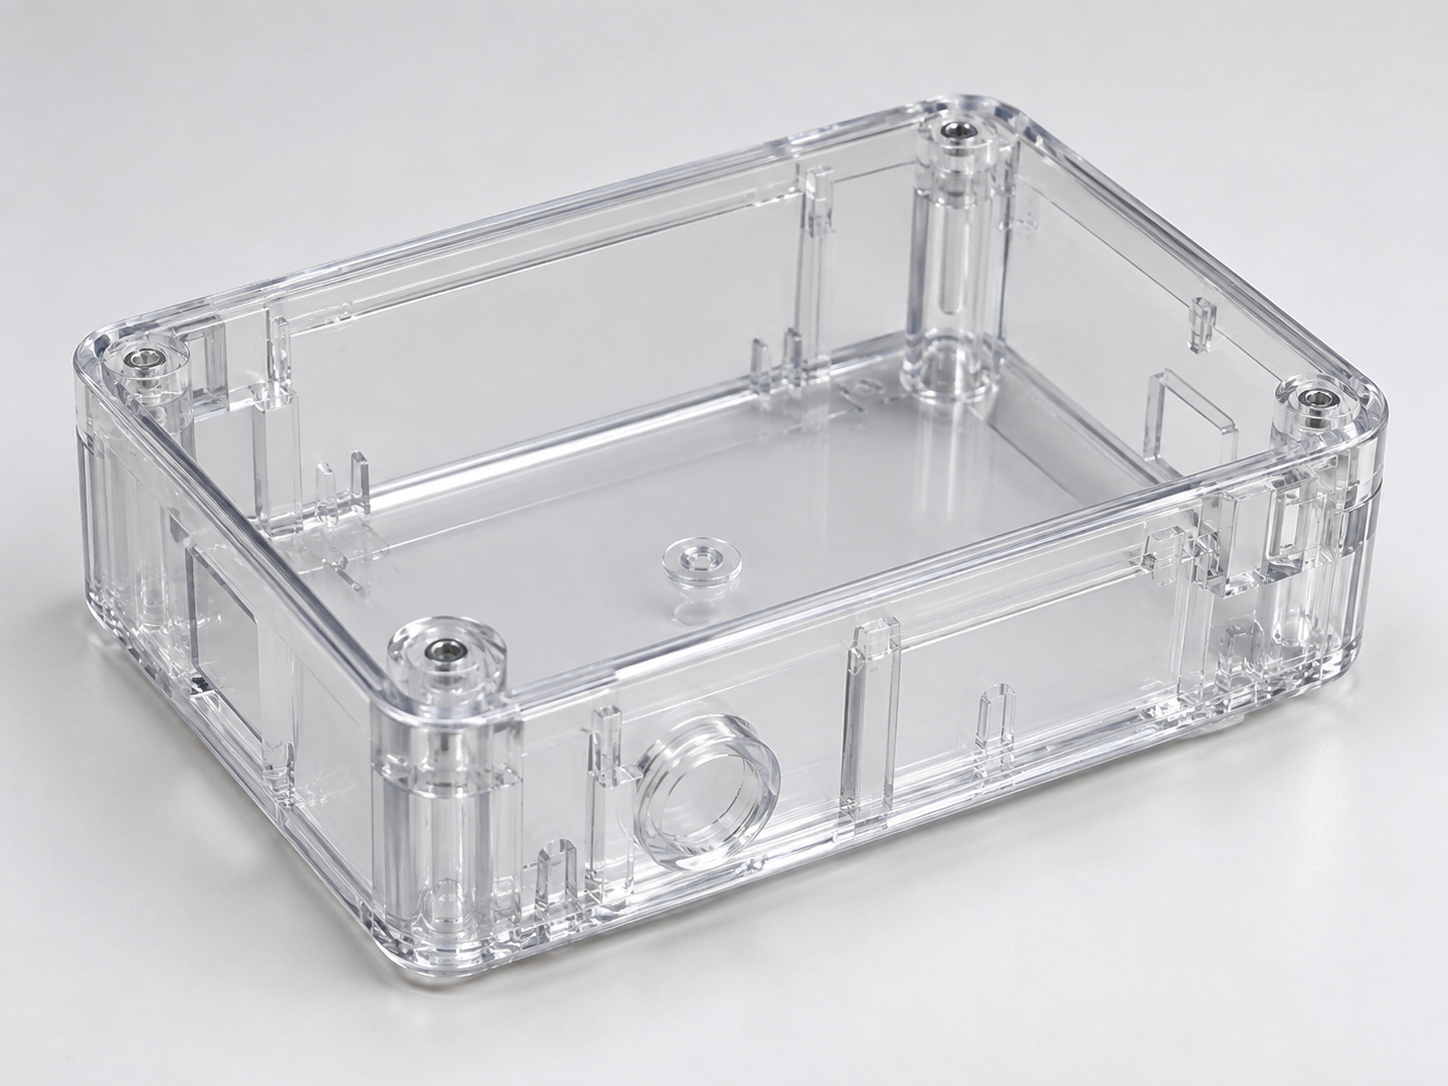
Transparent plastic parts are harder to mold than normal opaque parts.
Small defects can be easy to see through a clear surface. For example, flow marks, silver streaks, black spots, bubbles, weld lines, scratches, and haze can all reduce appearance quality.
Therefore, producing good transparent parts requires more than choosing the right resin. Mold design, polishing, venting, gate position, material drying, and process control all matter.
At Fentor Mold, we normally review these points before tooling starts. This is because many appearance problems become harder to correct after the mold is finished.
Why Transparent Plastic Parts Are More Difficult to Mold
The main challenge is simple: defects are easier to see.
On an opaque plastic part, a small flow line may be acceptable. However, the same line can be very obvious on a clear surface.
Common materials for transparent plastic parts include:
- PC
- PMMA
- Transparent ABS
- PET
- PETG
- PS
- SAN
Each material behaves differently during molding.
For example, PC needs good drying and usually requires a higher melt temperature. PMMA can provide excellent clarity. However, it is sensitive to contamination and surface damage.
Therefore, the mold and molding process should match the actual material from the beginning.
Common Appearance Defects on Transparent Plastic Parts
Different defects often have different causes.
Therefore, the first step is to understand the defect before changing the molding process.
Flow Marks
Flow marks often appear as visible lines or changes in gloss.
They can come from unstable melt flow, low mold temperature, poor gate position, or sudden changes in wall thickness.
On transparent plastic parts, even a light flow mark can be easy to see.
Therefore, improving the gate position and keeping the melt flow smooth can often help.
Silver Streaks
Silver streaks are common on PC and other moisture-sensitive materials.
Typical causes include:
- Poor material drying
- Moisture in the resin
- Material degradation
- Excessive shear
- Trapped air
In this case, drying conditions should be checked first.
For example, increasing injection pressure will not solve the problem if the resin still contains moisture.
Bubbles and Voids
Bubbles may appear inside thicker transparent parts.
Possible causes include:
- Trapped gas
- Poor packing
- Thick wall sections
- Material shrinkage
- Small gates
- Excessive melt temperature
Because light passes through the part, internal bubbles are difficult to hide.
Therefore, unnecessary thick sections should be avoided whenever possible.
Mold Surface Quality Is Critical
The mold cavity surface directly affects the finished part.
For transparent plastic parts, polishing needs tighter control than for ordinary plastic components.
Even small machining marks can become visible. The same is true for EDM texture and polishing scratches.
Critical cavity surfaces may require:
- Fine machining
- Careful EDM finishing
- Progressive polishing
- Diamond polishing
- Protection during mold assembly
However, polishing should not be used to repair poor machining.
If the cavity surface is uneven, too much polishing may make the geometry worse. Therefore, accurate machining should come first. Controlled polishing comes after that.
You can learn more about our precision mold components manufacturing capabilities.
Gate Design Affects Transparent Plastic Parts
Gate position has a major effect on appearance.
A poor gate location may cause:
- Flow marks
- Jetting
- Weld lines
- Uneven gloss
- Air traps
- Gate stress
For many transparent parts, the melt should enter the cavity smoothly. It should also fill the part in a stable direction.
In addition, the gate should be large enough to avoid excessive shear.
If the gate is too small, melt speed through the gate becomes very high. As a result, extra heat and stress may develop.
Therefore, gate position and gate size should be reviewed together.
For complex parts, Moldflow analysis can also help. It can predict flow direction, weld lines, pressure, and possible air traps before steel cutting.
Good Venting Helps Prevent Visible Defects
Poor venting can quickly reduce the visual quality of a transparent part.
Trapped air may cause:
- Burn marks
- Cloudy areas
- Short shots
- Flow hesitation
- Uneven gloss
Therefore, venting should be considered early in mold design.
The mold usually needs vents near the end of fill. Air-trap areas may also need extra attention.
However, the vents cannot be too deep. Otherwise, flash may appear.
So, good venting requires balance. The air must escape, while molten plastic must remain inside the cavity.
Material Drying and Cleanliness Matter
Transparent resins are very sensitive to contamination.
Even a small amount of dust can be visible. Black residue or mixed resin can also ruin the appearance.
Therefore, before molding transparent plastic parts, the production team should check:
- Hopper cleanliness
- Dryer condition
- Barrel cleanliness
- Screw condition
- Material storage
- Regrind control
- Packaging condition
PC and PMMA need extra attention.
For example, moisture can cause silver streaks, bubbles, and poor clarity. Therefore, the material should follow the resin supplier’s drying conditions.
At the same time, the dried resin should not remain exposed to humid air for too long.
Stable Mold Temperature Improves Appearance
Low mold temperature can make a transparent part look dull.
It may also make flow marks easier to see.
Therefore, a stable mold temperature often improves surface quality.
However, increasing mold temperature too much is not always better. It can increase the cycle time and may create other problems.
The key is stability.
In addition, cooling on both sides of the cavity should be as balanced as possible.
Uneven cooling may cause:
- Warpage
- Uneven gloss
- Local shrinkage
- Internal stress
For this reason, good cooling design is just as important as cavity polishing.
You can also read our guide on injection mold cooling test for more information about cooling performance.
Injection Speed Needs Careful Control
Transparent parts normally need a stable filling speed.
If injection speed is too slow, the melt may cool too early. As a result, flow marks or poor surface quality may appear.
On the other hand, very high speed can create excessive shear.
This may cause:
- Silver streaks
- Burn marks
- Jetting
- Internal stress
Therefore, filling as fast as possible is not the goal.
Instead, the melt should enter smoothly and pass through critical appearance areas at a stable speed.
In some cases, multi-stage injection speed can provide better control.
Weld Lines Are More Visible on Transparent Parts
Weld lines form when two melt fronts meet.
On an opaque part, a small weld line may be acceptable. However, on transparent plastic parts, the same line can be clearly visible.
Therefore, weld line position should be reviewed before mold manufacturing.
Possible improvements include:
- Moving the gate
- Changing the gate quantity
- Increasing mold temperature
- Improving venting
- Adjusting injection speed
- Adjusting melt temperature
However, moving the weld line away from the main visible surface is often the better solution.
This is much easier before the mold has been built.
Internal Stress Can Affect Appearance Later
A transparent part may look good immediately after molding. However, problems can appear later.
Internal stress may lead to:
- Cracking
- Whitening
- Distortion
- Reduced transparency
PC parts are especially sensitive to this problem.
Common causes include:
- High packing pressure
- Small gates
- Excessive injection speed
- Uneven cooling
- Difficult ejection
- Sharp corners
Therefore, process settings should control both appearance and internal stress.
A part that looks good at T1 but cracks during assembly is not an acceptable result.
Ejection Can Damage Transparent Plastic Parts
Scratches are another common problem.
During ejection, the part should not drag heavily against polished mold surfaces.
Therefore, enough draft angle is important. Ejector positions should also be selected carefully.
If ejection force is too high, the part may show:
- White marks
- Deformation
- Stress marks
- Scratches
In addition, handling after molding matters.
For appearance-critical products, protective film may be needed. Soft trays or separate packaging can also prevent scratching.
How Fentor Mold Checks Appearance During Mold Trials
During a mold trial, filling the cavity is only one part of the job.
For transparent components, Fentor Mold also checks:
- Flow marks
- Weld lines
- Black spots
- Silver streaks
- Bubbles
- Gate marks
- Surface scratches
- Gloss differences
- Deformation
- Internal stress
When a defect appears, we first try to identify its source.
The problem may come from the mold, material, machine, or molding process.
This step is important because it prevents unnecessary mold changes.
For example, wet PC can create silver streaks. In that case, changing the gate may not help.
Similarly, burn marks that always appear in the same area may point to poor venting.
Therefore, the cause should be confirmed before modifying the mold.
What Buyers Should Confirm Before Production
For transparent plastic parts, appearance standards should be clear before mass production.
Useful items include:
- Approved sample
- Main visible surface
- Acceptable weld line position
- Scratch limits
- Black spot limits
- Bubble limits
- Gate appearance
- Gloss requirement
- Transparency requirement
- Packaging method
An approved golden sample is especially useful.
It gives both sides a clear visual standard. As a result, production approval becomes easier and quality disputes are reduced.
You can read our article on injection molding sample approval for more information about setting production standards.
Final Thoughts
Good-looking transparent plastic parts depend on many small details.
First, the resin must be dry and clean. Next, the mold surface must be machined and polished correctly. Gate and venting design should support smooth filling.
At the same time, cooling and injection speed need to remain stable. Internal stress and ejection damage should also be controlled.
Most importantly, appearance requirements should be discussed before tooling starts.
A small change in gate position, wall thickness, draft angle, or product structure can prevent major cosmetic problems later.
If your project requires clear PC, PMMA, or other transparent molded components, you can learn more about our injection mold manufacturing and injection molding production services.